How to Reglaze Tile: A Simple Guide for Homeowners
Bathroom or kitchen renovation can be a daunting and expensive task for homeowners. However, you don't always have to splurge on a brand new tile job to give your bathroom a fresh and updated look. Reglazing tile is an affordable and effective alternative to replace your old and worn-out bathroom tiles. It's a process that involves stripping away the surface layer of your existing tile, repairing any damage, and then applying a new coat of glaze. In this blog post, we'll guide you through the step-by-step process of how to reglaze tile, so you can upgrade your bathroom on a budget.
1. Preparing the Tile
The first thing you need to do before reglazing tile is to clean the surface thoroughly. Remove any dirt, grime, or soap scum using a non-abrasive cleaner and a scrub pad. Rinse the tile with water and let it dry completely. Next, you need to sand the tile using fine-grit sandpaper to rough up the surface. This step helps the new glaze to adhere to the tile. For any heavily soiled or stained tile, you might need to use a tile and grout cleaner to get rid of the stains.
2. Repairing Damaged Tile
Inspect your tile for any chips, cracks or damage. If you notice any damage or chips, you'll need to fill them in with an epoxy filler specifically designed for tile. Use a putty knife to apply the filler to the damaged area and let it dry according to manufacturer instructions. Once it's dry, sand it down until it's smooth and flush with the surrounding tile.
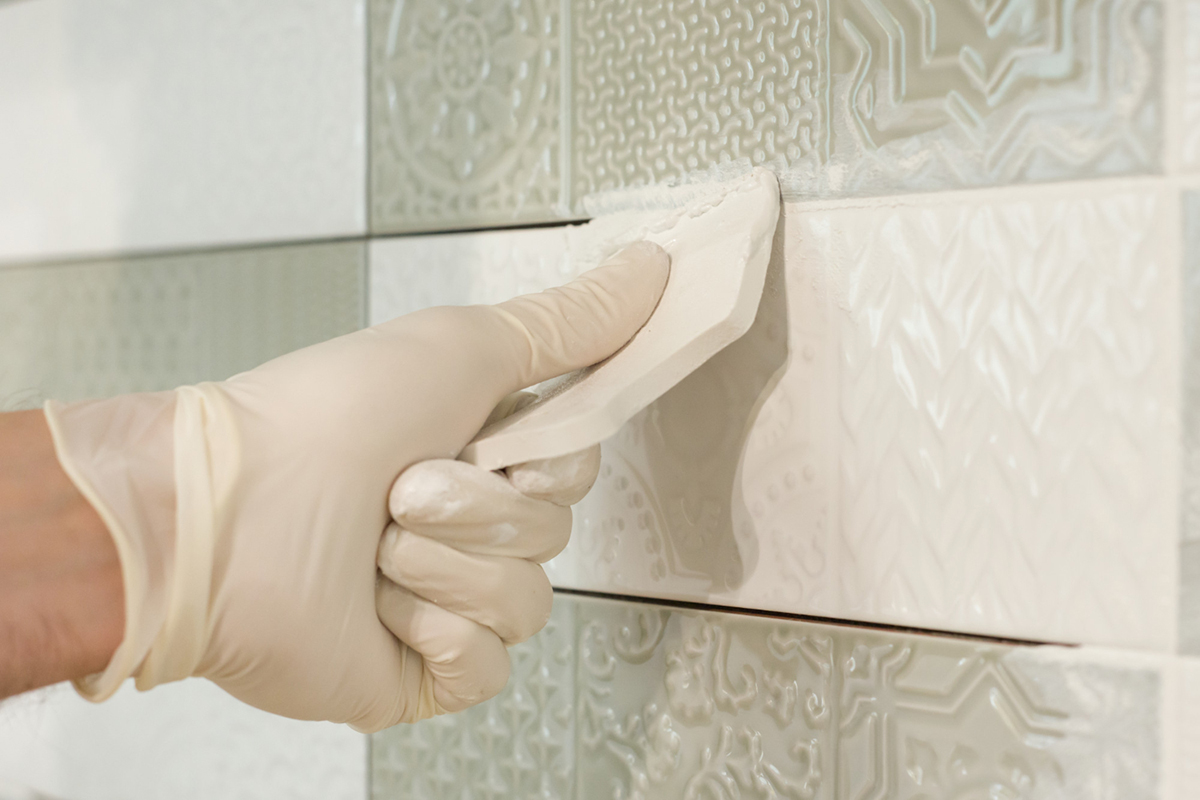
3. Applying the New Glaze
Once the tile has been prepped and repaired, you're ready to apply the new glaze. Choose the right type of glaze for your tile and follow the manufacturer's instructions for mixing it. Using a paintbrush or a spray gun, apply a thin and even coat of glaze onto the tile. Be careful not to apply too thick of a coat, as it can lead to drips and an uneven finish. Let the first coat dry completely, and then apply another coat if needed.
4. Finishing and Polishing
After the final coat of glaze is dry, inspect the tile for any missed spots or uneven application. Use a fine-grit sandpaper or a nylon pad to sand any rough edges or drips on the surface. Finally, apply a high-gloss sealer to the tile for a polished finish. Let the sealer dry completely before using the bathroom or kitchen for regular use.
5. Hiring a Professional
While reglazing tile can be a DIY project, it's always best to hire a professional to ensure quality results. A professional contractor has the tools and expertise to prepare, prime, and finish your tile to last for years. Contact CFL Renovations if you are looking for a home remodeling contractor in Orlando, FL. Our team of experts can help you reglaze tile and give your bathroom or kitchen an updated look.
Conclusion
Reglazing tile is an affordable and effective way to upgrade your bathroom or kitchen without breaking the bank. By following these simple steps, you can reglaze tile yourself or hire a professional contractor to ensure quality and lasting results. If you are seeking for home remodeling contractor in Orlando, Florida, Contact CFL Renovations today for a free estimate on your tile reglazing project.